I was asked why I didn't create a Facebook page for 'Syaz Cards'..To be frank, I don't have the exact answer to that..Most probably because I don't have time for that as I'm busy juggling my time doing things that I'm supposed to do..But who knows, when I've settled down, and not as busy as I am today, I might create one..
Now..Back to the real deal..Many have asked me how did I come out with the letter 'M' that I made before..
Well, to be frank, I have no secret to that..I didn't use any template for the swirls spanning the letter 'M'..Guess my OCD [Yup, I'm a perfectionist (which can be a burden on me sometimes) - Dr. Leman (1998) stated that almost all first borns have this trait] helped me in doing that..
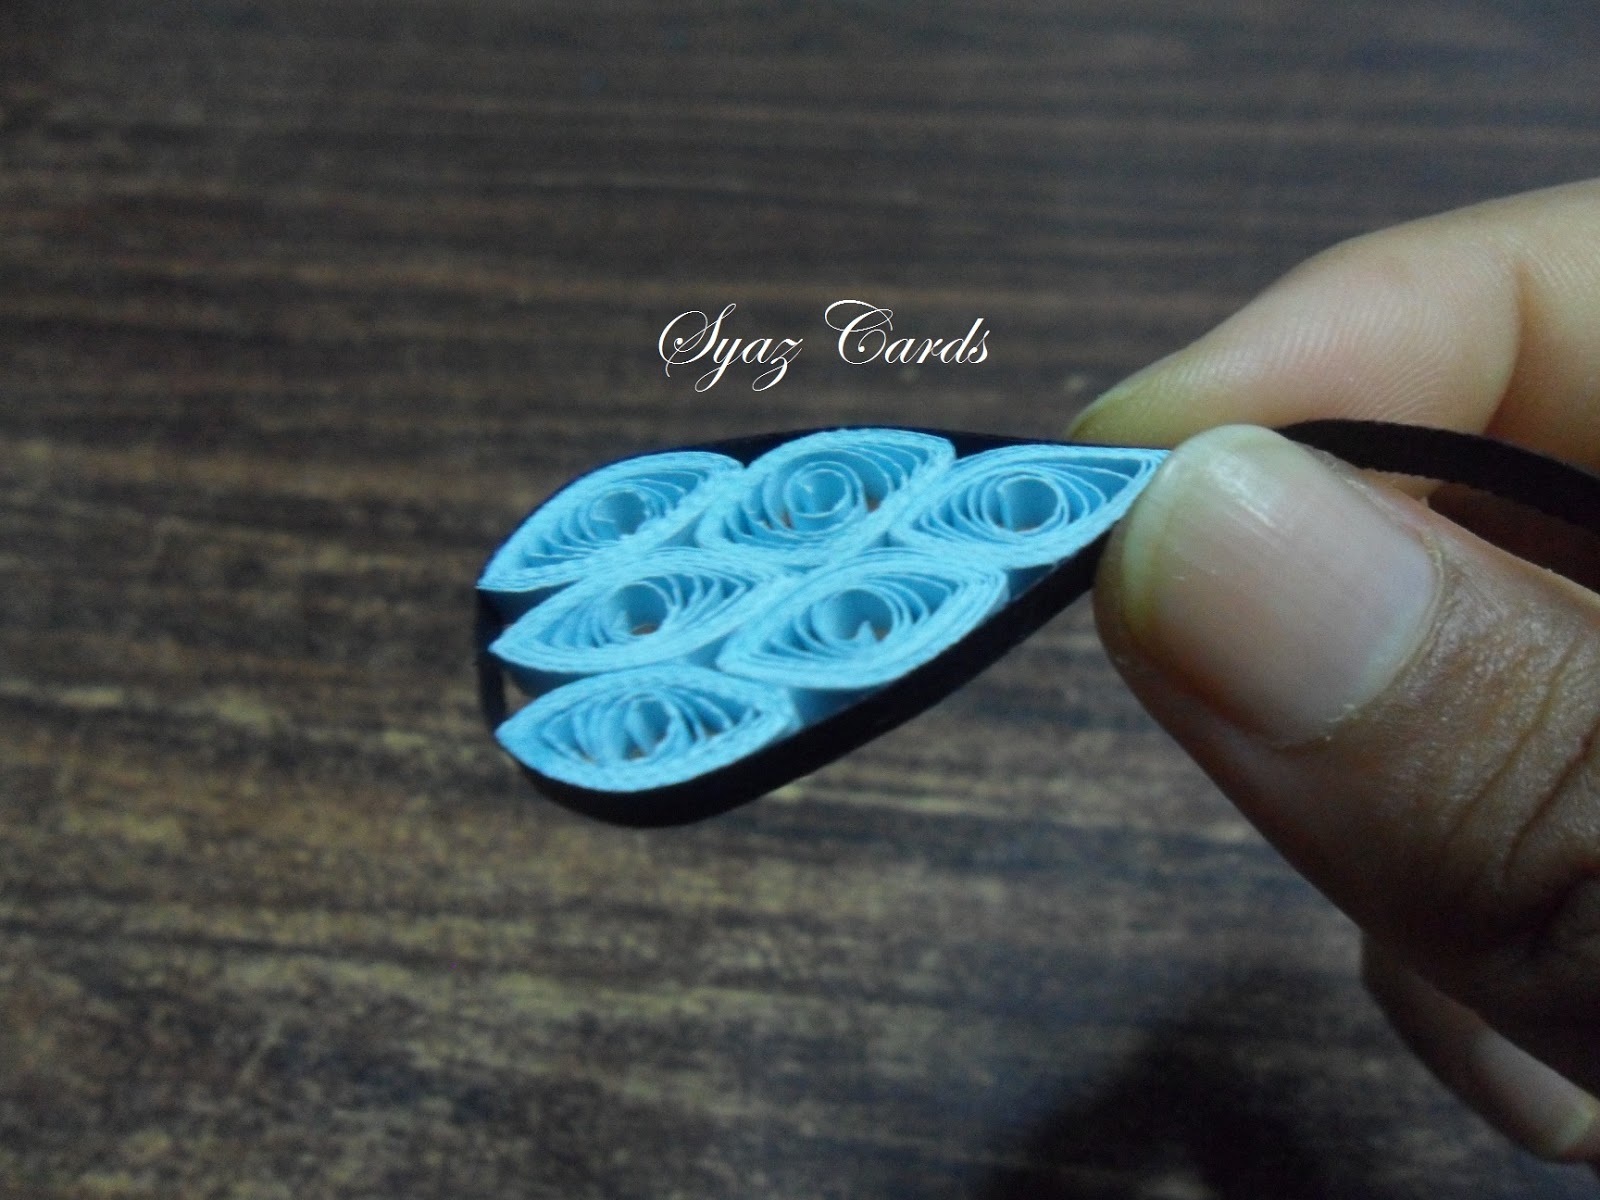
I normally use 50/80 gm papers to do all the quilled letters; in fact, all of my quilling pieces, as (for me) they're easier to handle..Additionally, they will create better edges..As for the typography above, I used the 50 gm papers..
For this tutorial, I'm showing you how to create the similar effect you see in the letter 'M' before using its younger sister, 'N'..Different letter, but it still follows the same principle..

To create such effect; first, you need to use your quilling tool or tweezers to bend your strip as shown above..

Once you've done that, you'll have a curve like this..

Then, place the paper strip in the letter (which is done earlier) to measure it..Yup, that's the trick (I guess)..

Hold the marker that you made on the strip and cut it..

To do another curve on the other side, make sure you use the strip that you cut earlier to measure it so that they have the same height..I'm using a pink strip here as black won't be apparent if they're put together..

Once you've got the same measurement for both, cut the second strip..

And you'll have two identical strips..

Place the strip on top of the other and bend them like what can be seen above..

Place both strips in the letter..Now you have the same curve in it..Repeat the same process for others (depending on the gap that you want it to be)..Make sure the end of the two strips face with each other before you glue them..

For the straight line, measure the strip using the same technique as seen in picture no. 3..

I'm not good at using tweezers as I normally use my hand to place the strips, but hafta use it to show you how to place it to ensure the straight line..

There you go..
Hope that helps..Love to see your version..Happy quilling..