
You’ll need:
§ 30 strips for the petals
§ 10 strips for the outer petals
§ 3 strips for the centrepiece (base)
§ 8 strips for the upper centrepiece
Note: I’m using 3mm strips. If you don’t have a shredding machine, you can cut the strips according to the size that you like.
Note: I’m using 3mm strips. If you don’t have a shredding machine, you can cut the strips according to the size that you like.
§ Slotted paper quilling tool (or toothpick)
§ PVA glue (or any glue that you have)
§ Circle template (you can get this at any stationery shop)
If you don’t have a quilling tool, what you need to do is to take the toothpick and snip the end of it with a small knife for about 0.5 cm. And there you go, your own DYI quilling tool.


All you’ll need to do to make Termitaria flower is to prepare some eyes or marquises. First, take one paper strip and roll it with the slotted tool until the end to form a coil.


For those who don’t have the circle template, you can release your coil and allow it to loosen naturally until you get the size that you want.

After that, glue the end of the strip (Don’t put too much glue). Be careful and don’t forget to maintain the size or else it’ll be difficult for you to create your petal.


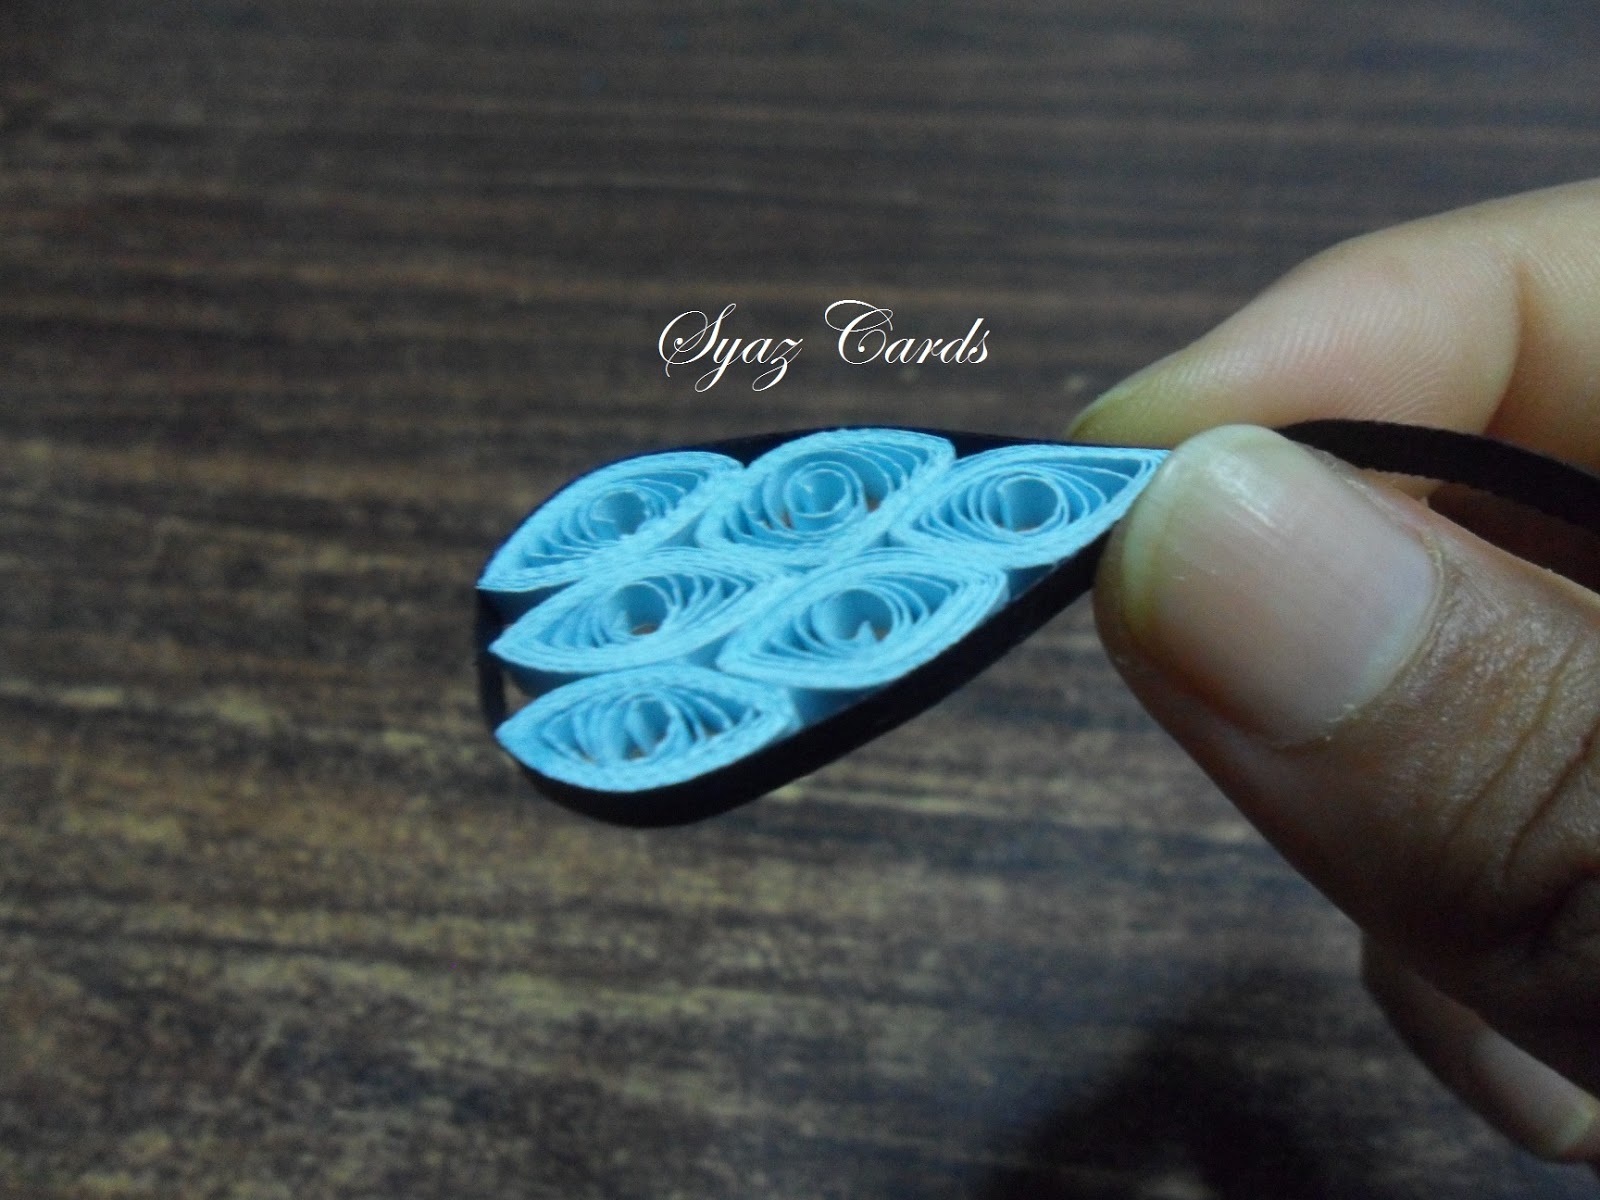
Pinch the opposing ends of the loose coil to form the eye shape. Repeat the steps until you have six coils of such shape.


Let it dry for awhile.

After that, glue one end of two strips together to create a long strip.

Then, wrap the strip around the petal and glue its end..
Repeat the process all over again until you have five petals.

Before you can glue all the petals together, make a tight coil for the centre of the flower. You only need to roll your strips until the end and glue its end. After you’ve done with the tight coil, you’ll have five petals with one tight coil.


Glue them together to form a flower. Make another tight coil (way bigger than the first one) from a different coloured paper to cover all the joint of the flower (you can also replace the centrepiece with a button or beads, depends on your preference). And voila! You have your own Termitaria flower.


Have fun and happy quilling (^__^)
4 comments:
very nice flower, thanks for sharing how its made, will try it !!!
Paula
wow, thanks for tutorial!!!!
Nice pictures and instructions.......Thank you for sharing with the Clever Chicks Blog Hop this week; I hope you’ll join us again!
Cheers,
Kathy Shea Mormino
The Chicken Chick
http://www.The-Chicken-Chick.com
very nice
You can visit me here
https://www.facebook.com/CreaQuilling
Greetings from Chile
Post a Comment