Saturday, January 31, 2015

World Hijab Day (WHD)

Greetings from Malaysia,

Am back from my hiatus..Been very busy juggling a lot of things here..This is something that I wanted to do for so long, but never had a chance to make it until recently..I intended to do something else for the map on the face, but since I had started almost half way, I just finished it up..Still satisfied with the end product.. 

"The brainchild of this movement is a New York resident, Nazma Khan, who came up with the idea as a means to foster religious tolerance and understanding by inviting women (non-Hijabi Muslims/non-Muslims) to experience the hijab for one day. For many people, the hijab is a symbol of oppression and segregation. By opening up new pathways to understanding, Nazma hopes counteract some of the controversies surrounding why Muslim women choose to wear the hijab."


If you want to read more on the WHD movement, you can click on the link provided:

..or you can log on to the WHD official website at worldhijabday.com 

For Malaysian users, you can go to WHD Malaysia FB page https://www.facebook.com/WorldHijabDayMalaysia

If you're in Malaysia, come and join us for the World Hijab Day 2015 at KLCC Park tomorrow (1st February 2015) at 11pm..For further details of the event, you can log on to https://www.facebook.com/events/1603331296567044/?pnref=story 

See you there!!

Monday, March 31, 2014

These were so last year (^__^)

Hello everyone,

Been very busy with a lot of things that I didn't have the chance to update my blog..I made these December last year..I know, kinda outdated..But hey, better never than never (^__^)

The welcoming board..


..and a guestbook as requested..

Wednesday, August 7, 2013

Happy Eid Mubarak

Greetings everyone,
Been away for quite some time..Am busy with a lot things..
Just wanna wish all Muslims "Happy Eid Mubarak"..Have a blast celebration..

Sunday, May 19, 2013

Wedding wishes

Greetings everyone,

A quick post..Sorry I've been away for quite some time..Am working on a paper for a conference this July..Wish me luck..Ok, back to the real deal..Made these two cards for a colleague on her wedding, as well as her brother's..

For my colleague..

With rings on it..

And this is for her brother..

With not-a-typical-wedding cake top on it (^__^)

Monday, April 8, 2013

Another typography in a frame

Another typography in a modified frame..I use a cardboard to create the same effect as the IKEA frame..

If you notice, I used the letter 'N' for my tutorial on how to create the swirls spanning the letter 'M' in my previous post..The upside down heart is actually pink, with black spiral..Dunno how it looks all black here..

The side view of it..

It looks like it pops out, right?

Monday, April 1, 2013

Little gift for my students

Had a word game in my class before..
And all winners were given these bookmarks..

Made the pink ones for the girls and the blue ones for the boys..
Hope they like it..

Monday, March 25, 2013

Remember the letter 'M' in my previous post?

I was asked why I didn't create a Facebook page for 'Syaz Cards'..To be frank, I don't have the exact answer to that..Most probably because I don't have time for that as I'm busy juggling my time doing things that I'm supposed to do..But who knows, when I've settled down, and not as busy as I am today, I might create one..

Now..Back to the real deal..Many have asked me how did I come out with the letter 'M' that I made before..

Well, to be frank, I have no secret to that..I didn't use any template for the 
swirls spanning the letter 'M'..Guess my OCD [Yup, I'm a perfectionist (which can be a burden on me sometimes) - Dr. Leman (1998) stated that almost all first borns have this trait] helped me in doing that..

I normally use 50/80 gm papers to do all the quilled letters; in fact, all of my quilling pieces, as (for me) they're easier to handle..Additionally, they will create better edges..As for the typography above, I used the 50 gm papers..

For this tutorial, I'm showing you how to create the similar effect you see in the letter 'M' before using its younger sister, 'N'..Different letter, but it still follows the same principle..


To create such effect; first, you need to use your quilling tool or tweezers to bend your strip as shown above..

Once you've done that, you'll have a curve like this..


Then, place the paper strip in the letter (which is done earlier) to measure it..Yup, that's the trick (I guess)..

Hold the marker that you made on the strip and cut it..

To do another curve on the other side, make sure you use the strip that you cut earlier to measure it so that they have the same height..I'm using a pink strip here as black won't be apparent if they're put together..

Once you've got the same measurement for both, cut the second strip..

And you'll have two identical strips..

Place the strip on top of the other and bend them like what can be seen above..

Place both strips in the letter..Now you have the same curve in it..Repeat the same process for others (depending on the gap that you want it to be)..Make sure the end of the two strips face with each other before you glue them..

For the straight line, measure the strip using the same technique as seen in picture no. 3..

I'm not good at using tweezers as I normally use my hand to place the strips, but hafta use it to show you how to place it to ensure the straight line..

There you go..


Hope that helps..Love to see your version..Happy quilling..

Monday, March 18, 2013

Book review 2013

Hello everyone,

I'm sorry as I rarely respond to your questions or comments as I'm not always on my blog..I have most of my posts scheduled according to the date and time I intended..So when you see a new post from me, it's not that I'm online and ignore your questions..I'll try my best to attend to all of those enquiries ASAP..

So what I to share with all of you this time around are just some simple bookmarks for the book review session at my university..

It is an annual activity where we will have an individual to review a book that he/she had read..

And every reviewer will get this bookmark as a token of appreciation..

With my signature bee to complement the saying - "Books are the bees which carry the quickening pollen from one to another mind - James Russell Lowell"..


So guys..Don't stop reading..


P/S: Haven't bought myself a new camera..The camcorder is not helping either..And that's why the pictures look like they surface from the Wonderland (^__^)

Wednesday, March 13, 2013

More thank you notes

I finally finished my dissertation..Hurrah \(^__^)/

And to thank my participants for making the completion of my thesis possible, I made the followings cards..Hope they like it..


This plane was inspired by Handmade Spark..Made one like this before..You can check it here..


And thanks to you guys too for your support and prayers..

Tuesday, March 5, 2013

Termitaria flower tutorial

For those who missed the DIY project - Quilling Series in Craftziners Magazine (Nov Issue) that I put up on my blog before..Here is the complete tutorial on how to make a flower, which I called Termitaria. New to quilling? Don’t worry, as I will provide you with a step-by-step guide to make this flower.

You’ll need:
§  30 strips for the petals
§  10 strips for the outer petals
§  3 strips for the centrepiece (base)
§  8 strips for the upper centrepiece

Note: I’m using 3mm strips. If you don’t have a shredding machine, you can cut the strips according to the size that you like.

§  Slotted paper quilling tool (or toothpick)
§  PVA glue (or any glue that you have)
§  Circle template (you can get this at any stationery shop)

If you don’t have a quilling tool, what you need to do is to take the toothpick and snip the end of it with a small knife for about 0.5 cm. And there you go, your own DYI quilling tool.


All you’ll need to do to make Termitaria flower is to prepare some eyes or marquises. First, take one paper strip and roll it with the slotted tool until the end to form a coil.


Then, release the coil from the tool, but don’t glue it yet. Instead, let the coil rolls inside the circle template to get the intended size. In my case, I use size 11 for my loose coil. It depends on how big you want your flower to be.
  

For those who don’t have the circle template, you can release your coil and allow it to loosen naturally until you get the size that you want. 


After that, glue the end of the strip (Don’t put too much glue). Be careful and don’t forget to maintain the size or else it’ll be difficult for you to create your petal.
  

Pinch the opposing ends of the loose coil to form the eye shape. Repeat the steps until you have six coils of such shape.


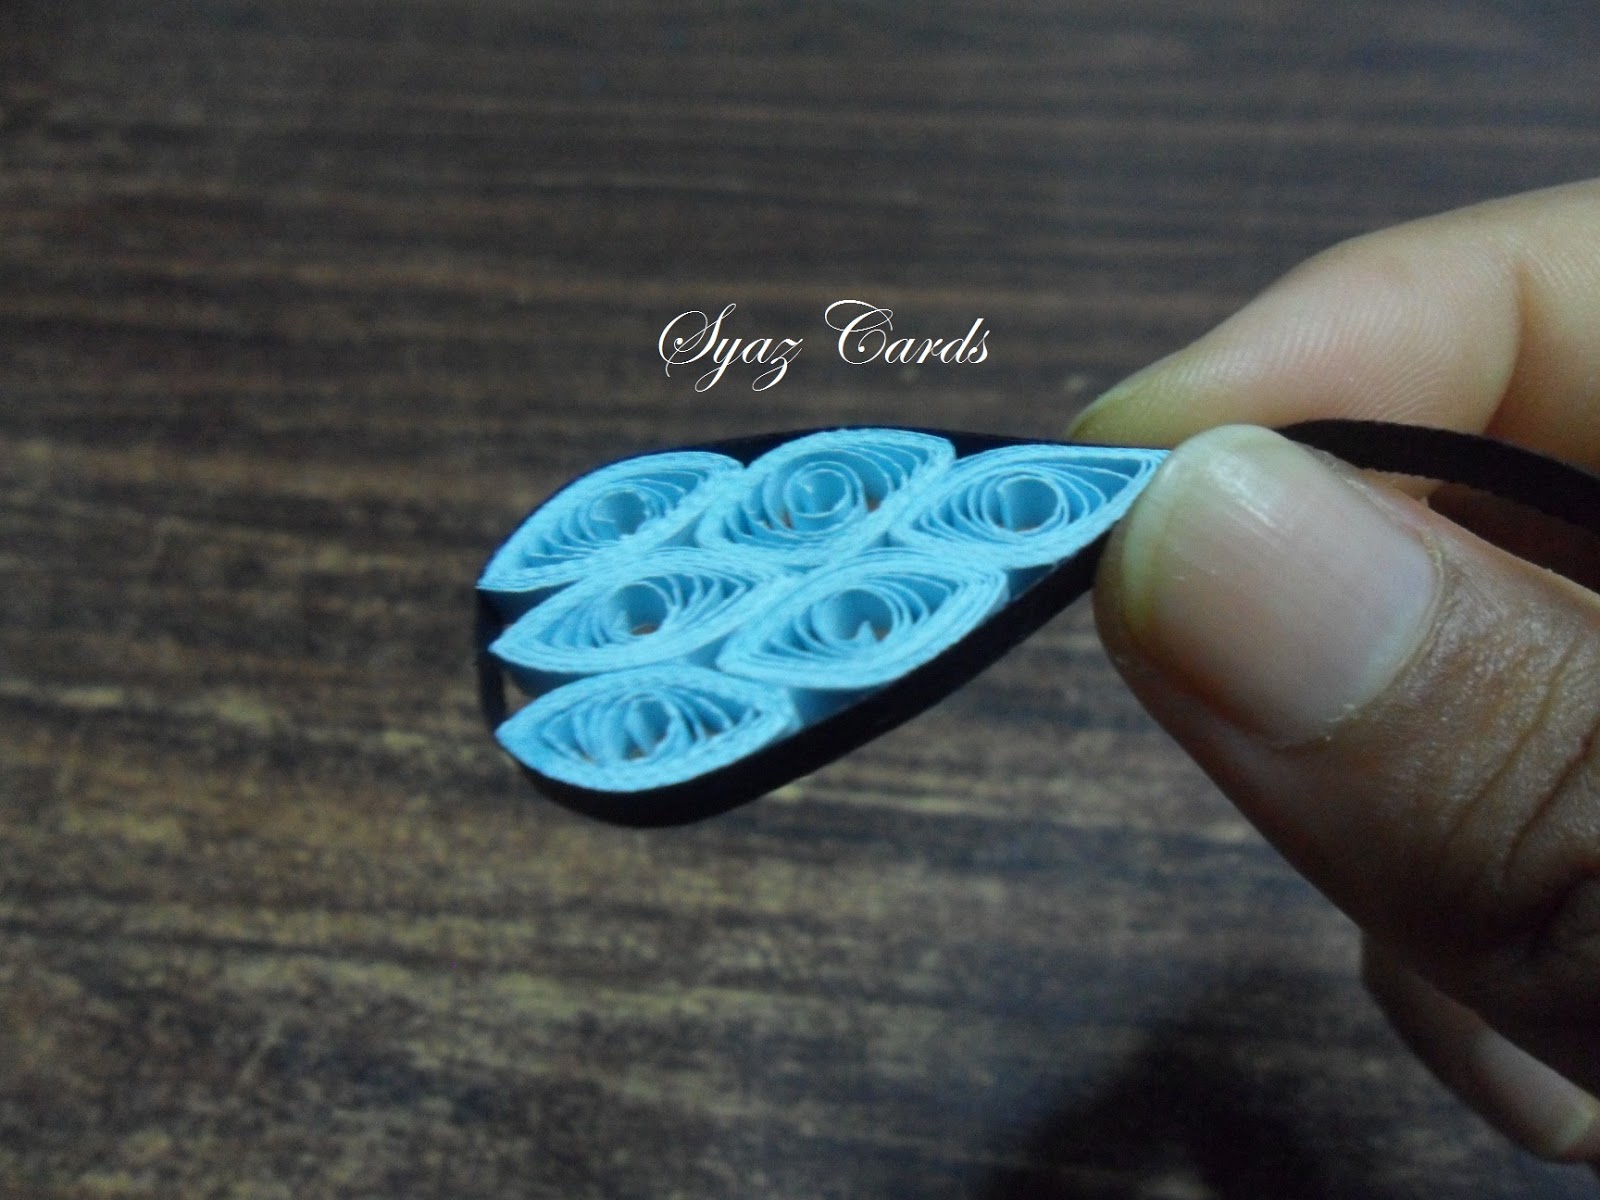
Once you’ve finished with all the six eyes, you can begin gluing them together to form a petal. 
  

Let it dry for awhile.


After that, glue one end of two strips together to create a long strip. 


Then, wrap the strip around the petal and glue its end..


Repeat the process all over again until you have five petals.


Before you can glue all the petals together, make a tight coil for the centre of the flower. You only need to roll your strips until the end and glue its end. After you’ve done with the tight coil, you’ll have five petals with one tight coil.


Glue them together to form a flower. Make another tight coil (way bigger than the first one) from a different coloured paper to cover all the joint of the flower (you can also replace the centrepiece with a button or beads, depends on your preference). And voila! You have your own Termitaria flower.


Have fun and happy quilling (^__^)